but they were pretty beat. So I took pictures, of me;
-cleaning the air bubbles
-cleaning the leather
-and putting in new laces.
Above the pics are going to be steps on how I did It, and how you should
do it.
Not The Best Pictures!
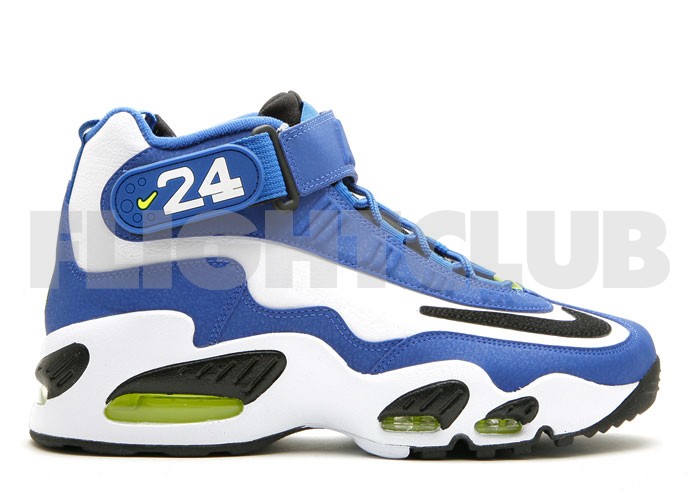
-Before, The right shoe is the one that is going to be worked on first,
and use as the example finish.

-As you can see, there are many spots that look like "scratches"
but are just deep creases with dirt, when cleaned, can make a big improvement.


The start of the cleaning.
-First I covered the shoe with soap, and water

-The It was dipped in the hot water, in the many mixes that are described in the earlier post of the blog, and let it sit for 1 minute.

-After cleaning the white midsole with a hard brush, I cleaned the colored
midsoles with a soft tooth brush, so the color wouldn't come off.
BEWARE OF CLEANING COLORED MIDSOLES WITH HARD BRUSHES!
-Next, I made sure to clean the dirty, and dusty airbubbles, with a toothbrush.
any toothbrush can be used for this.

-After that, i wiped the shoe back over with a damp towel, and finished with a dry
towel.
-After your shoe is cleaned, you should stuff it with grocery bags, to fill out
the space of the shoe and creases.

-after I put on leather shine and new white laces, and here it the finished shoe;

-Here is the cleaned shoe compared to the dirty left one.

Cleaned Inside
Dirty Inside
Clean Outside
Dirty Inside
FINISHED

The job usually works for me, and I hope it works for you the same. Thank you and try at your own risk.
-Kobi
No comments:
Post a Comment